Best Way to Turn AI Images into Print-Ready Vector Files
The best way to prepare an AI image for production depends on the artwork and the supplier’s requirements. Flat logos may suit vector tracing or manual reconstruction; photographs usually need a raster workflow. Check the actual file, intended size and manufacturing method before choosing a conversion process or requesting a final proof.
Production exposes details that can remain invisible in an AI preview. A shirt, embroidered cap, package, sign or large display can require clean edges, controlled colours and artwork adapted to the supplier’s process. Begin with the approved source and the intended application, then decide whether tracing, reconstruction or a high-resolution raster workflow will preserve the design most accurately.
You may need to turn that AI image into a print-ready vector file, particularly for flat logos or cutting. First confirm the actual file and production requirements. This article compares five methods so you can choose a suitable workflow for your project.
When Vector Is Required for Production
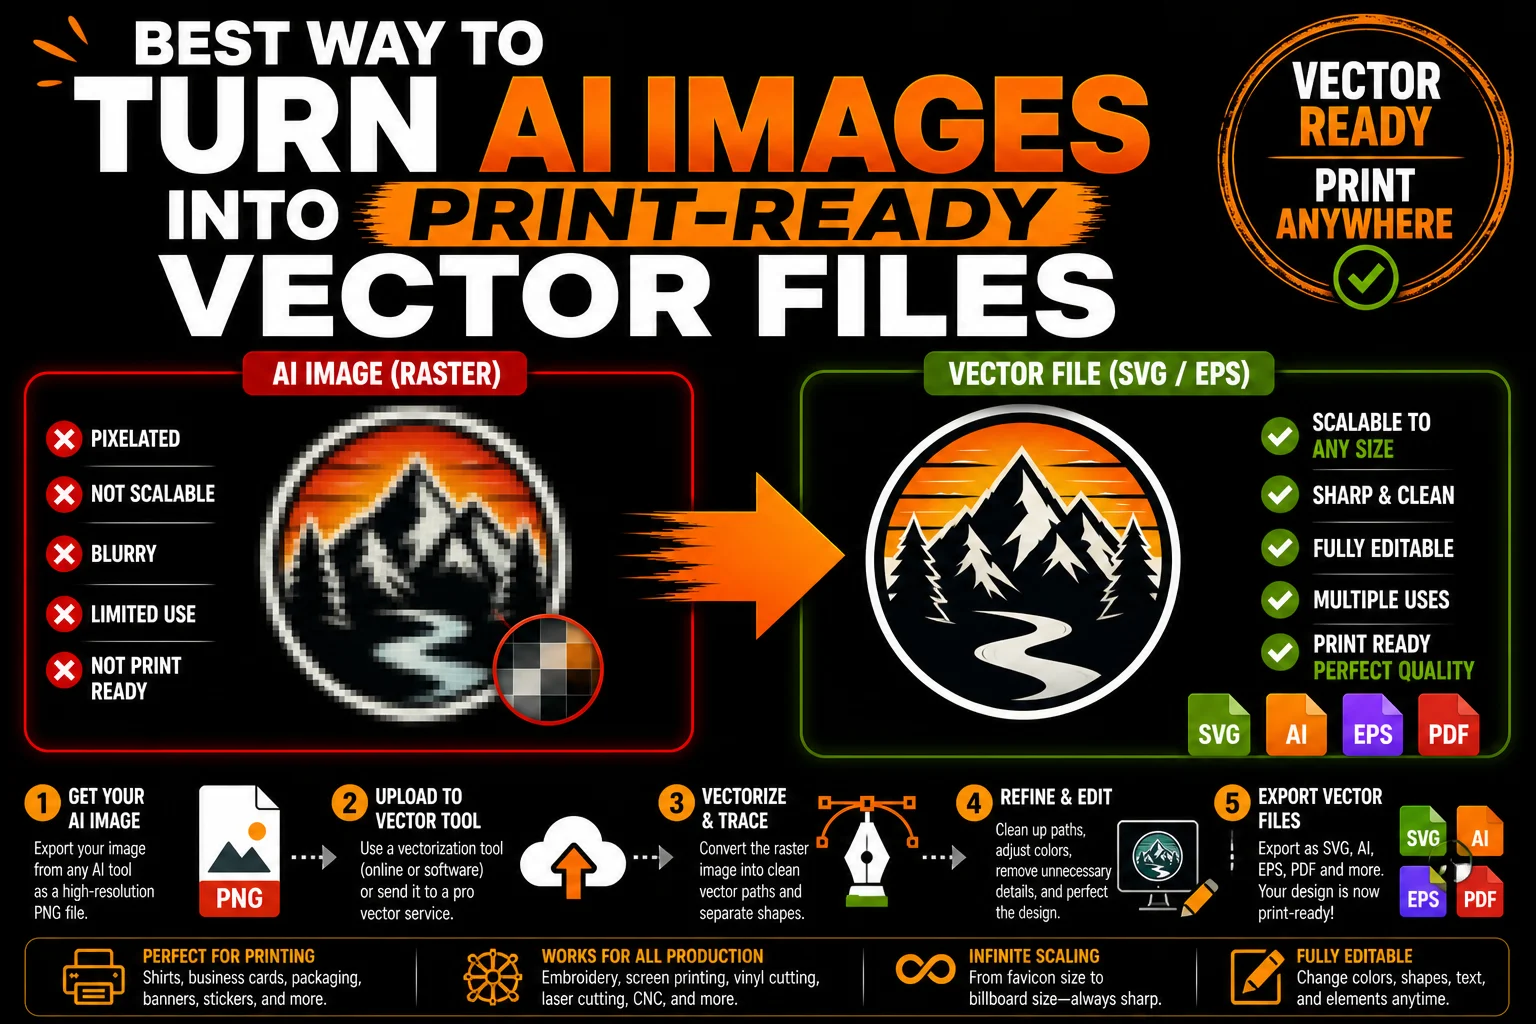
Start by inspecting the file rather than the tool’s name. Generated images can contain pixels, while some workflows produce vectors. Raster artwork can work on screens and in print when its resolution suits the finished size. Different production processes have different needs:
- Scaling up a raster image beyond its usable resolution can reveal blur or pixelation.
- Cutting machines need suitable paths for cutting operations; raster engraving is a separate process with different preparation.
- Embroidery digitizing requires suitable source artwork, then conversion into machine-specific stitches.
- Spot-color printing (screen printing, pad printing) separates designs into solid color layers, which vector handles natively.
- Color editing and variants can be easier with separately editable vector shapes than with a flattened image.
Vector paths in SVG, AI, EPS or PDF can be resized without adding pixels. These formats may also contain embedded raster images, so inspect their contents. Printers, sign makers and other suppliers request different deliverables according to their equipment and the way the artwork will be reproduced.
An AI-generated PNG is raster artwork. If your production process requires paths, tracing or redrawing can create them. That conversion is called vectorization; it is not required for every photograph or printed image.
The Five Realistic Methods (Compared)
Here are five ways to vectorize an AI image, comparing the amount of automation, manual control and review involved.
Method 1: Online Auto-Tracers
Examples: online raster-to-SVG tracing services. Check their current import options, adjustment controls and export capabilities.
How it works: Upload PNG, click trace, download SVG.
Pros:
- A direct starting point for testing a trace
- Quick initial previews, depending on the image and tool
- No software to install
- Decent for simple, high-contrast logos
Cons:
- Often messy results for AI images with anti-aliased edges
- Struggles with gradients, shadows, fine detail
- Output frequently needs significant cleanup
- Export formats depend on the chosen tool
- Single-color or reversed variants may need separate preparation
- No human judgment about design intent
Best for: Simple silhouettes, clean iconography, quick tests, projects where good-enough is fine.
Avoid relying on an unchecked trace for: detailed production logos or photographic effects. Inspect the output before accepting it.
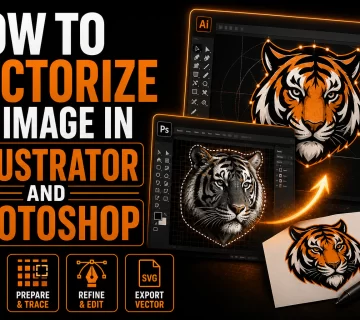
Method 2: Adobe Illustrator’s Image Trace
Tools: Adobe Illustrator and its Image Trace and path-editing controls.
How it works: Place PNG, run Image Trace, tune settings, click Expand to get editable vectors. Then clean up manually.
Pros:
- Adjustable tracing controls for comparing several interpretations
- Full control over trace settings
- Editable output for further refinement
- Multiple format export options
- Industry-standard tool used by professional designers
Cons:
- Requires access to a compatible version of Illustrator
- Requires design skills to get good results
- Cleanup time depends on source quality and detail
- Still struggles with AI image artifacts (anti-aliasing, gradients)
- Output paths often need significant simplification
Best for: Designers who already use Illustrator, mid-complexity logos, projects where you want hands-on control.
Avoid for: Non-designers, complex AI illustrations, tight deadlines, when you don’t want to spend hours on it.
Method 3: AI-Assisted Vectorization Tools
Tools: services offering image-to-vector conversion. Distinguish actual tracing from generating a new image inspired by your source.
How it works: You provide the source image and inspect the generated vector result. The specific conversion method depends on the tool; the label AI does not establish how closely it preserves the approved design.
Pros:
- May interpret some shapes differently from conventional tracing
- Often fast (minutes)
- Can offer alternative handling of soft edges, depending on the tool
- May offer multiple format exports
Cons:
- Still imperfect; output often needs cleanup
- Quality varies wildly between tools
- Export options and editing controls differ between services
- No human design judgment
- May not handle production-specific needs (single-color versions, simplifications for embroidery, etc.)
Best for: Comparing alternative conversions of a mid-complexity image when you can inspect the shapes and correct the result.
Avoid for: Logos that absolutely have to be perfect, or projects where you need the full set of production formats and variants.
Method 4: DIY Hand Vectorization in Illustrator/Inkscape/Affinity
How it works: You manually redraw your AI image as vector paths from scratch in design software.
Pros:
- Highest control if you’re skilled
- Can preserve intended proportions with careful comparison
- Allows artwork to be prepared for specified production requirements
- No reliance on algorithms or services
Cons:
- Requires real design skills
- Time depends on the detail, lettering and number of variants
- Every vector editor has a learning curve for precise path construction
- You’re doing all the work yourself
Best for: Designers who want total control, or anyone with the skills who enjoys the process.
Avoid for: Non-designers, when you have a deadline, when your time is worth more than the cost of professional service.
Method 5: Professional Vectorization Service
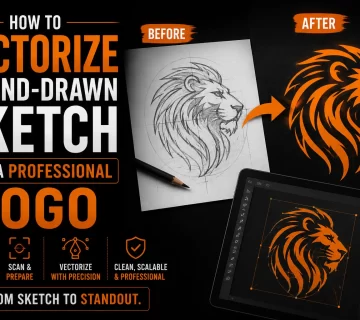
How it works: Send your source image and intended applications to a designer. Agree on the reconstruction, formats, variants and schedule, then review the delivered artwork before it goes to your production supplier.
Pros:
- A designer can review and correct the reconstructed shapes
- No design skills required from you
- Multiple formats delivered (SVG, AI, EPS, PDF, single-color, reversed, etc.)
- An agreed delivery schedule with a review stage
- Output prepared for the supplier’s stated requirements, with final approval still needed
- Designer brings judgment about design intent and production needs
Cons:
- Requires a defined scope covering details, formats and revisions
- Takes time (hours to days, though usually fast)
- You’re trusting another party with your design
Best for: Real production use, complex AI images, branding projects, anyone who wants polished results without DIY.
Less useful for: An early disposable concept or a simple existing vector that already meets the supplier’s needs. Inspect the source first.
Quick Decision Guide
Choose an online auto-tracer if:
- Your AI image is genuinely simple and high-contrast
- You’re testing or prototyping
- You can clean up the result yourself if needed
Choose Illustrator Image Trace if:
- You already use Illustrator and have the relevant design skills
- You want hands-on control
- Your design is mid-complexity
Choose AI-powered vectorizers if:
- You want to compare another interpretation of the source
- You’re willing to experiment with different services
- You can inspect differences and request corrections before use
Choose DIY hand vectorization if:
- You’re a designer
- You enjoy the process or want full control
- You can set aside time for construction and review
Choose professional vectorization service if:
- The vector will be used for real production
- You don’t have design skills (or don’t want to spend hours)
- The image is complex (gradients, shadows, fine detail)
- You need multiple formats and variants
- You want it done quickly and professionally
For branded assets heading into production, professional reconstruction can be useful when the source has distorted text, ambiguous edges or details requiring simplification. Compare the work involved with your own editing capacity. A clear brief and supplier specifications make that decision more useful than assuming one method is always best.
Why Auto-Trace Especially Struggles With AI Images
The source matters more than whether it was generated by AI. A clean symbol and a soft photographic illustration present very different tracing problems. Look for the following characteristics before choosing settings or a reconstruction method:
Soft, anti-aliased edges everywhere. Auto-tracers see these as transitional colors and either flatten them (losing detail) or create dozens of intermediate paths.
Subtle gradients and shadows. AI loves atmospheric effects. Tracers can’t reliably interpret these, producing banded or muddy output.
Fine details with weak contrast. AI may render details that look fine on screen but are too low-contrast to trace cleanly.
Inconsistent line weights. A generated raster image may have small variations in stroke thickness. Tracing can preserve those variations, even when the intended logo calls for more consistent geometry.
Generated text artifacts. Check the wording and letter shapes. A tracer follows the supplied pixels; it does not reliably correct misspellings or rebuild accurate typography.
This is why even excellent auto-tracers (including Illustrator’s Image Trace) often fall short on AI input. Hand vectorization, whether DIY or by a service, deals with these issues by recreating the design with intention rather than tracing what’s literally there.
What “Print-Ready” Actually Means
A print-ready vector file isn’t just a file with a vector extension. To genuinely be print-ready, it should have:
Clean paths. Minimal, intentional nodes. No hundreds of unnecessary points cluttering the file.
Solid color fills. Not gradients or rasterized fills (unless your design specifically needs them and your printer supports them).
Proper layers and groups. Organized so a designer or printer can edit, separate, or modify elements.
No stray elements. No invisible points, broken paths, duplicate shapes, or hidden artifacts.
Correct color preparation. Follow the printer’s requested profile and spot-color specifications rather than assuming one setting suits every process.
Appropriate format coverage. Confirm whether the recipient needs SVG, AI, EPS or PDF, with single-color, reversed or simplified variants where relevant. Check each export.
Reasonable file complexity. An unusually large logo file warrants inspection for embedded images, excessive nodes or unused objects. Size alone does not prove whether artwork is vector or suitable for production.
Any method can leave problems that need correction. Compare the actual exported files against this checklist instead of treating automation or professional involvement as a guarantee.
A Practical Workflow Comparison
Compare the work required from the first conversion through final supplier approval.
Online auto-tracer: The first result may be quick to obtain, but inspect the paths, lettering and colors. Include the cleanup and export checks in your workflow rather than judging only the time needed to upload the source.
Illustrator Image Trace: Useful when you can adjust settings and edit the resulting paths. Plan for comparison with the original, typography correction and an export test after tracing.
Professional vectorization: Provide the source, approved wording and supplier requirements. Agree on the formats and revision process, then check the delivered set before approving production. A clear handoff reduces avoidable clarification later.
For artwork more complex than a silhouette, compare the quality of a sample result and the remaining cleanup. Professional help is useful when that review exposes problems you cannot confidently resolve.
Real-World Use Cases
Here’s how this plays out for different types of projects:
Solo founder launching a microbrand. An illustrative workflow is to generate a concept, approve its spelling and proportions, then have the selected mark reconstructed. The business can review the file set with suppliers for cards, shirts and packaging labels before ordering production.
Etsy seller selling printables. Uses AI to generate cute illustrations, vectorizes them, sells the SVGs as cut files for Cricut/Silhouette users. Vector quality matters here because customers will use the files in their own production.
Small agency client work. A designer may use AI for concept exploration, then request reconstruction of an approved direction. The agency still needs to review the result against the client’s brief and production requirements.
E-commerce product launch. A packaging concept may combine vector logos with raster images. Prepare both for the manufacturer’s specifications, check the layout and approve a proof before a production run.
Local business signage. A reconstructed logo gives the sign maker editable paths. The final export, colors and smallest details still need to suit the sign’s dimensions and manufacturing method.
In these examples, vectorization helps where editable paths are needed. Source quality, layout preparation and supplier review remain part of turning a concept into a finished product.
Bottom Line
The best way to turn an AI image into a print-ready vector file depends on the source and your ability to review the result. Compare these options:
- Professional vectorization: useful when reconstruction and production-specific review are needed
- DIY in Illustrator (with skills): if you’re a designer with time
- AI-assisted vectorizers: another conversion option whose output needs inspection
- Illustrator Image Trace (with cleanup): if you already have the tool
- Online auto-tracers: a starting point for clear shapes, followed by cleanup and checking
For small business owners using AI concepts in branded materials, professional vectorization can simplify the preparation of a reliable master. It is most useful when the original needs deliberate corrections. Compare the deliverables and review process, then confirm that the files suit the actual production applications you have planned.
If you have an AI-generated image intended for printing, embroidery, cutting or signage, send us the source and describe the finished product. We can review which elements need reconstruction, confirm the scope and schedule, and prepare the agreed file formats and variants. Your supplier should approve the relevant version before production.
AI gave you the design. Vectorization makes it real.
Technical sources: Adobe Illustrator : Image Trace; Wilcom : artwork and embroidery digitizing