ChatGPT Logo to SVG: Complete Step-by-Step Guide
To turn a ChatGPT logo image into SVG, first check whether the file contains pixels or editable paths. Trace a simple image or redraw a detailed mark, then inspect the lettering and curves. Export a clean SVG and test it at the sizes and on the backgrounds your business actually uses.
The need for an SVG often appears after a logo concept has already been selected. A website developer, printer or manufacturer may ask for scalable artwork, editable paths or a file that fits a specific production system. The right conversion method therefore depends on the approved image, its lettering and the way the finished logo will be used.
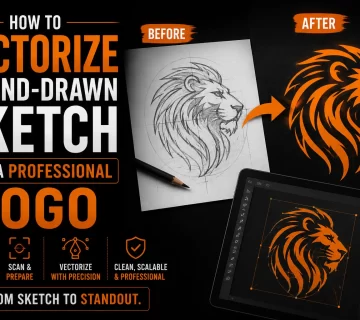
ChatGPT can write SVG code, but a generated logo image and an SVG drawing are different outputs. Check the actual file before converting it. If your selected logo is a PNG, the next step is converting the ChatGPT PNG into a clean SVG, then checking its paths and lettering.
This guide walks through three concrete methods: automatic tracing, tracing in a vector editor, and professional reconstruction. Each includes practical steps and checks to help you prepare an SVG for your intended use.
Why You Want SVG (Not Just PNG)
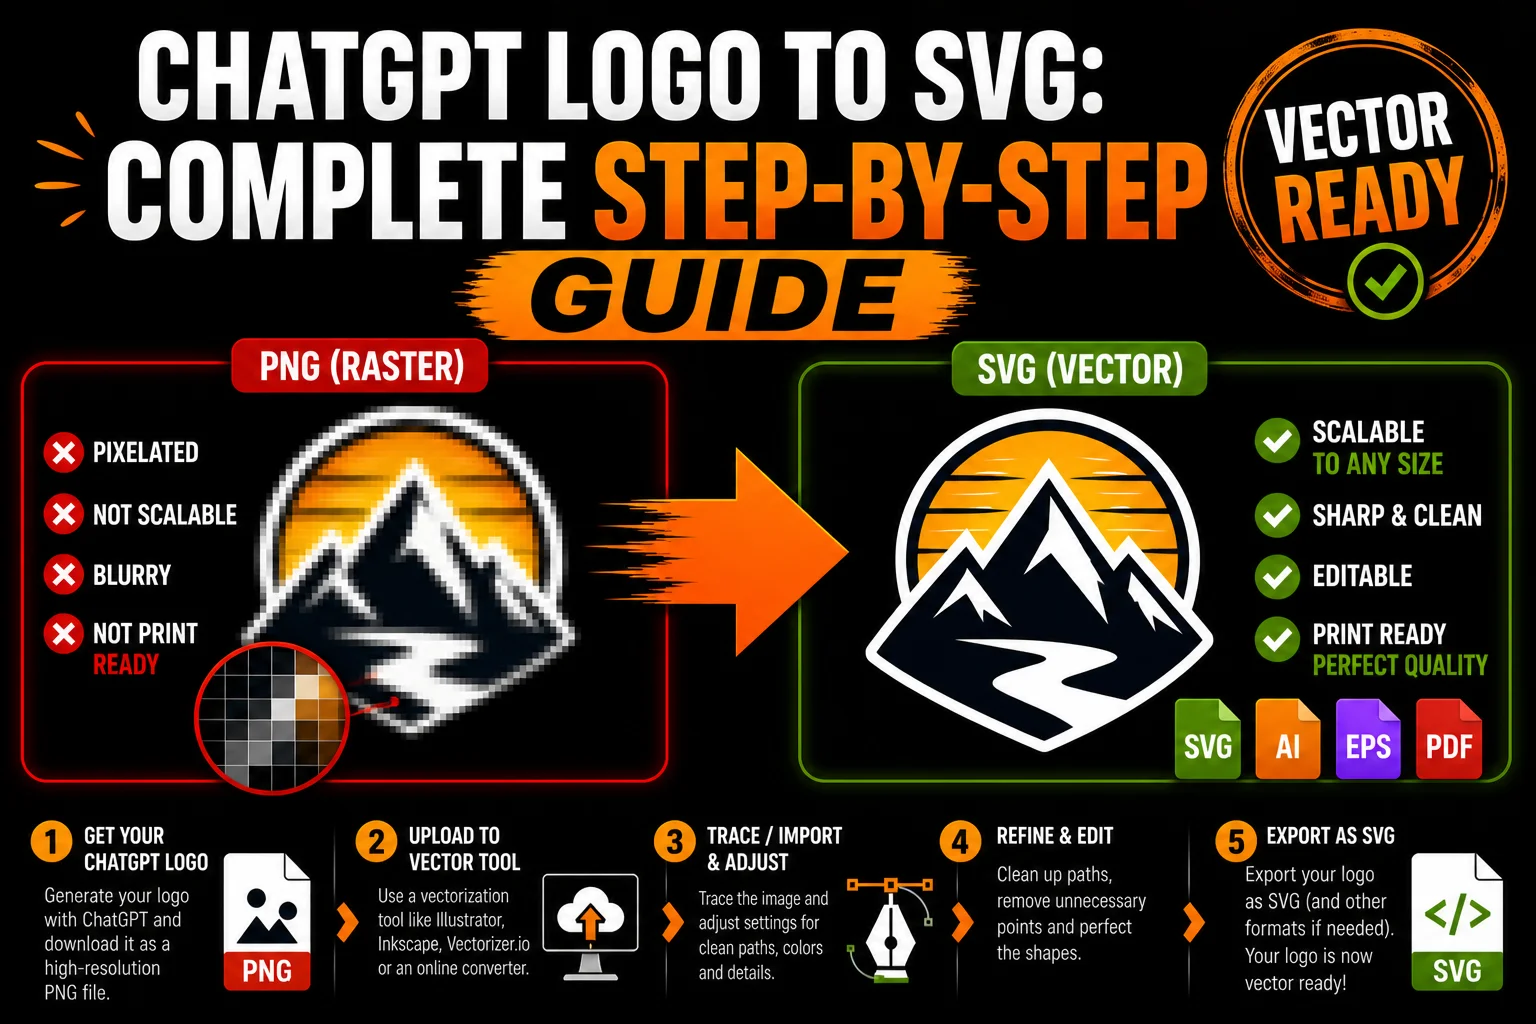
A quick refresher. SVG (Scalable Vector Graphics) is a vector file format. Unlike PNG (which is made of pixels), SVG describes shapes with mathematical paths. This gives you:
- Scalable paths. Vector shapes remain sharp when resized, although fine details may need simplification at favicon size.
- Editability. Colors, shapes, and elements can be modified in any vector editor.
- Smaller file size for many cases (tiny SVGs can be just a few KB).
- Web-friendliness. SVG is supported in modern browsers and can be styled or animated, with testing in the intended page.
- Production compatibility. SVG can provide source artwork; confirm the supplier’s format, and arrange digitizing separately for embroidery.
For a logo used across several supports, SVG is a useful master format. Ask your suppliers whether they also require AI, EPS or PDF, and inspect those exports before delivery.
Why a ChatGPT SVG Still Needs Checking
Two workflows in ChatGPT need to be distinguished before choosing a conversion method:
Image generation produces pixels. When you generate a logo image, inspect the downloaded file and its dimensions. A PNG is raster artwork, even if its shapes look like a vector drawing. Asking for a vector style describes the appearance; it does not convert those pixels into editable paths.
Direct SVG code generation needs review. If you ask ChatGPT to write SVG code for a logo, it can produce XML markup describing vector shapes. That code may be usable, particularly for simple artwork, but you still need to render it, compare the lettering and proportions with your brief, and check for embedded images or other production limitations.
The realistic workflow is: generate the logo as an image in ChatGPT (where the visual quality is high), then convert that image to SVG using one of the methods below.
Step-by-Step: Three Methods to Convert ChatGPT Logo to SVG
Method 1: Online Auto-Tracer (Automatic Conversion)
Best for: simple, high-contrast logos. Quick tests. Low-stakes use.
Tools: a raster-to-SVG tracing tool with adjustable colour and path settings. Check the actual exported objects before accepting its result.
Step 1: Generate your logo in ChatGPT. Use the image tool. Prompt for a clean, simple design. Example prompt:
“A minimal logo of a stylized fox head, black on white, flat design, no gradients, no shadows, vector-style line art.”
Step 2: Download the PNG at the highest resolution. Right-click the generated image and save. Pick the largest version available.
Step 3: Optional cleanup. If your image has stray colors, soft backgrounds, or unwanted elements, clean it up in any image editor. Make the background pure white (or transparent) and isolate your logo.
Step 4: Upload to an auto-tracer. Choose an SVG tracing tool, check its import options and upload your PNG.
Step 5: Adjust settings if available. Most tools let you choose:
- Number of colors (start with 1-3 for logos)
- Threshold (controls how aggressively edges are detected)
- Smoothness (higher = simpler paths)
Step 6: Download the SVG.
Step 7: Test it. Open the SVG in a browser and a vector editor such as Inkscape or Illustrator. Check:
- Is your logo recognizable?
- Are the paths clean or jagged?
- Are colors right?
- Does it scale without falling apart?
If it looks right, check the paths and intended application before approving it. If it looks rough, clean it up manually using the next method or request professional reconstruction.
What to expect: For a simple, clean ChatGPT logo with high contrast, an auto-tracer can provide a useful starting point. Anti-aliased edges, gradients and fine details can require significant cleanup. Compare the trace with the approved design rather than judging only its file extension.
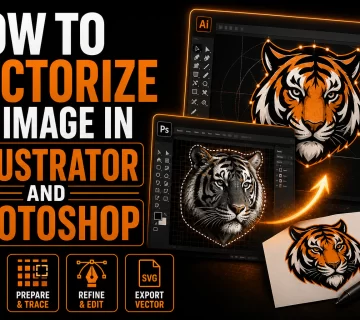
Method 2: Adobe Illustrator’s Image Trace (Hands-On Control)
Best for: designers, mid-complexity logos, when you want to control the result.
Tools: Adobe Illustrator, using its Image Trace panel and path-editing tools.
Step 1-3: Same as Method 1 (generate logo in ChatGPT, download PNG, optional cleanup).
Step 4: Open Illustrator and place the PNG. Create a new document. Go to File > Place and select your PNG. Click to place it on the artboard.
Step 5: Open Image Trace. With the image selected, go to Window > Image Trace to open the panel. Or click the “Image Trace” button in the top toolbar.
Step 6: Choose a preset to start.
- “Black and White Logo” for one-color logos
- “3 Colors” or “6 Colors” for multi-color logos
- “Sketched Art” for line drawings
- “High Fidelity Photo” for complex images (rarely ideal for logos)
Step 7: Fine-tune settings. In the Image Trace panel:
- Threshold: Higher = darker traced shapes
- Paths: Higher = more detailed paths
- Corners: Higher = sharper corners
- Noise: Higher = ignores small details (clean up artifacts)
- Method: Abutting creates adjacent shapes; Overlapping stacks them. Inspect the edges in the resulting artwork.
Watch the live preview as you adjust.
Step 8: Click “Expand” to convert to editable paths. This turns the trace into real vector shapes you can edit.
Step 9: Clean up.
- Use the Direct Selection tool to fix wonky paths.
- Simplify nodes (Object > Path > Simplify).
- Adjust colors to match your brand.
- Group elements logically.
Step 10: Save as SVG. File > Export > Export As > SVG. Choose the appropriate options:
- Styling: Inline or Internal CSS
- Decimals: choose enough precision to preserve curves, then compare the exported result.
- Minify: yes for web use
What to expect: With careful settings and path editing, Illustrator’s Image Trace can help produce a polished SVG. The time needed depends on the source, lettering and level of detail. Budget time to compare the exported file with the approved artwork, not just the tracing preview.
Method 3: Professional Vectorization Service (Reviewed Production Artwork)
Best for: real production use, complex logos, when you don’t want to DIY, when quality matters.
Step 1-3: Same as before (generate, download, optional cleanup).
Step 4: Send the PNG to a vectorization service. Upload your PNG via the service’s interface. Add any notes (specific colors, simplifications you want, formats you need).
Step 5: Confirm the schedule. Agree on the delivery date, review stage and required formats before your production deadline.
Step 6: Receive your files. A typical professional vectorization delivery includes:
- SVG (the main vector file)
- AI (Adobe Illustrator native)
- EPS (legacy print compatibility)
- Vector PDF (confirm the supplier’s export requirements)
- High-res PNG (for situations needing raster)
- Single-color version (for one-color print, embroidery, vinyl)
- Reversed/white version (for dark backgrounds)
Step 7: Verify and use. Open the SVG, compare it with the approved design, and confirm the export with your supplier.
What to expect: Ask for clean paths, intentional curves, organized artwork and the agreed formats. Professional reconstruction should include a review stage so you can approve details before sending the logo to a printer, sign maker or other production supplier.
Tips to Prompt ChatGPT for Logos That Convert Well
If you know in advance you’ll be converting your ChatGPT logo to SVG, prompt for designs that vectorize cleanly:
Use vector-friendly language. “Minimal logo,” “flat design,” “vector style,” “clean line art,” “logo design,” and “icon style” produce better results.
Specify limited solid colors. “Maximum 3 solid colors. No gradients. No drop shadows. No glows.”
Avoid photorealism. No “3D look,” “metallic,” “embossed,” “glossy,” or “realistic.”
Check the text separately. Generated lettering can contain errors. You can generate the symbol first, then add accurately spelled type in a vector editor.
Aim for bold, clear shapes. A logo with one strong element vectorizes better than one with twenty tiny details.
Iterate. Generate multiple variations, pick the cleanest one. Don’t try to vectorize your first attempt.
A clear, simple source generally makes tracing easier, but each conversion still needs a visual and technical check before production.
Common Issues and How to Fix Them
The SVG looks pixelated. That’s not actually pixelated, it’s probably a raster image embedded in an SVG wrapper. Some “converters” do this. Make sure your SVG actually contains vector paths, not embedded bitmap data.
Colors look wrong after conversion. Auto-trace samples whatever pixel colors are in the image. If you need specific colors, re-color the SVG manually in a vector editor or use a hex/Pantone match.
Paths are jagged or broken. Auto-tracers struggle with anti-aliased edges. Either reduce the number of colors in the trace settings, or use professional vectorization.
Text in the logo is gibberish. Check every letter against the business name. Replace incorrect generated text with properly typeset lettering in your vector editor.
File is huge. Auto-tracers often produce SVGs with thousands of unnecessary nodes. Use Illustrator’s “Simplify” function (Object > Path > Simplify) or use professional vectorization.
Logo looks “almost right” but slightly off. This is the classic auto-trace tell. The shapes are recognizable but lack design intent. Hand-vectorization fixes this.
Final Workflow Summary
To recap, the cleanest path from a ChatGPT-generated logo to a production-ready SVG:
- Generate the logo as a PNG image in ChatGPT (use vector-friendly prompts).
- Download the highest-resolution PNG available.
- Vectorize using one of the three methods: an auto-tracer, Illustrator or professional reconstruction.
- Verify the SVG looks clean and scales correctly.
- Export in additional formats (AI, EPS, PDF) if you’ll need them.
- Use the approved version for the web, print or production application it was prepared for.
For a simple logo, an auto-tracer may provide a useful starting point. For real products, packaging and merchandise, compare the result with your production requirements. Professional reconstruction is useful when tracing leaves distorted letters, rough curves or details that your supplier cannot reproduce reliably.
If you would rather have the artwork prepared for you, send us your ChatGPT logo and describe its intended uses. We can review the source, confirm the scope and delivery schedule, and prepare the agreed vector formats for your approval before production.
Your AI logo deserves to be more than a screenshot. Let’s get it production-ready.
Technical sources: OpenAI : image generation output formats; Adobe Illustrator : Image Trace