How to Vectorize an AI-Generated Logo for Printing
To vectorize an AI-generated logo for printing, check the source, simplify only what the intended process requires, and rebuild or trace the shapes. Correct the lettering and inspect the exported paths. Confirm the format, colours and minimum detail with your printer; embroidery and cutting require their own preparation beyond an attractive preview.
Vector preparation begins when a selected concept must leave the screen and work on business cards, packaging, signs, apparel or another physical application. Each process handles fine details, lettering and colours differently. Start with the best available source, confirm the supplier’s requirements and choose between tracing and manual reconstruction according to the complexity of the approved mark.
This guide walks through how to vectorize an AI-generated logo for a specified production use. We cover the workflow, the tools, the common pitfalls and the checks needed before your supplier approves the artwork.
When AI Logos Need to Be Vectorized for Print
Image-generation workflows commonly produce raster files such as PNG, JPG or WebP, which contain pixels. Other workflows can produce vector artwork, including Firefly’s Text to vector feature. Inspect the actual file: the name of the tool and the appearance of the preview do not tell you what objects it contains.
For print and manufacturing, determine whether pixels or paths suit the process before selecting a conversion method:
Scaling problems. A raster logo can print well when it has sufficient pixels for the intended dimensions. Enlarging a small source can expose soft edges. Ask the printer about effective resolution at the finished size rather than assuming a universal enlargement limit.
Cutting and machine-based production. Cutting operations require appropriate paths. Raster engraving uses a different workflow, and embroidery requires digitizing artwork into stitches. Confirm the file your particular supplier needs rather than treating all machines as if they use the same instructions.
Spot color separation. Screen printing, pad printing, and high-end packaging printing separate designs into solid-color layers. Vectors do this naturally; PNGs require complex pre-press work to mimic.
Color flexibility. Vector shapes can make it easier to prepare black-only, reversed or spot-color variants because their fills remain separately editable. A flattened raster source may need additional selection or reconstruction work. Each version still needs a visual check.
These are reasons a supplier may request vector artwork. Others can use raster images at suitable dimensions. Confirm the production requirements before converting the logo or ordering a new master.
What Vectorization Actually Means
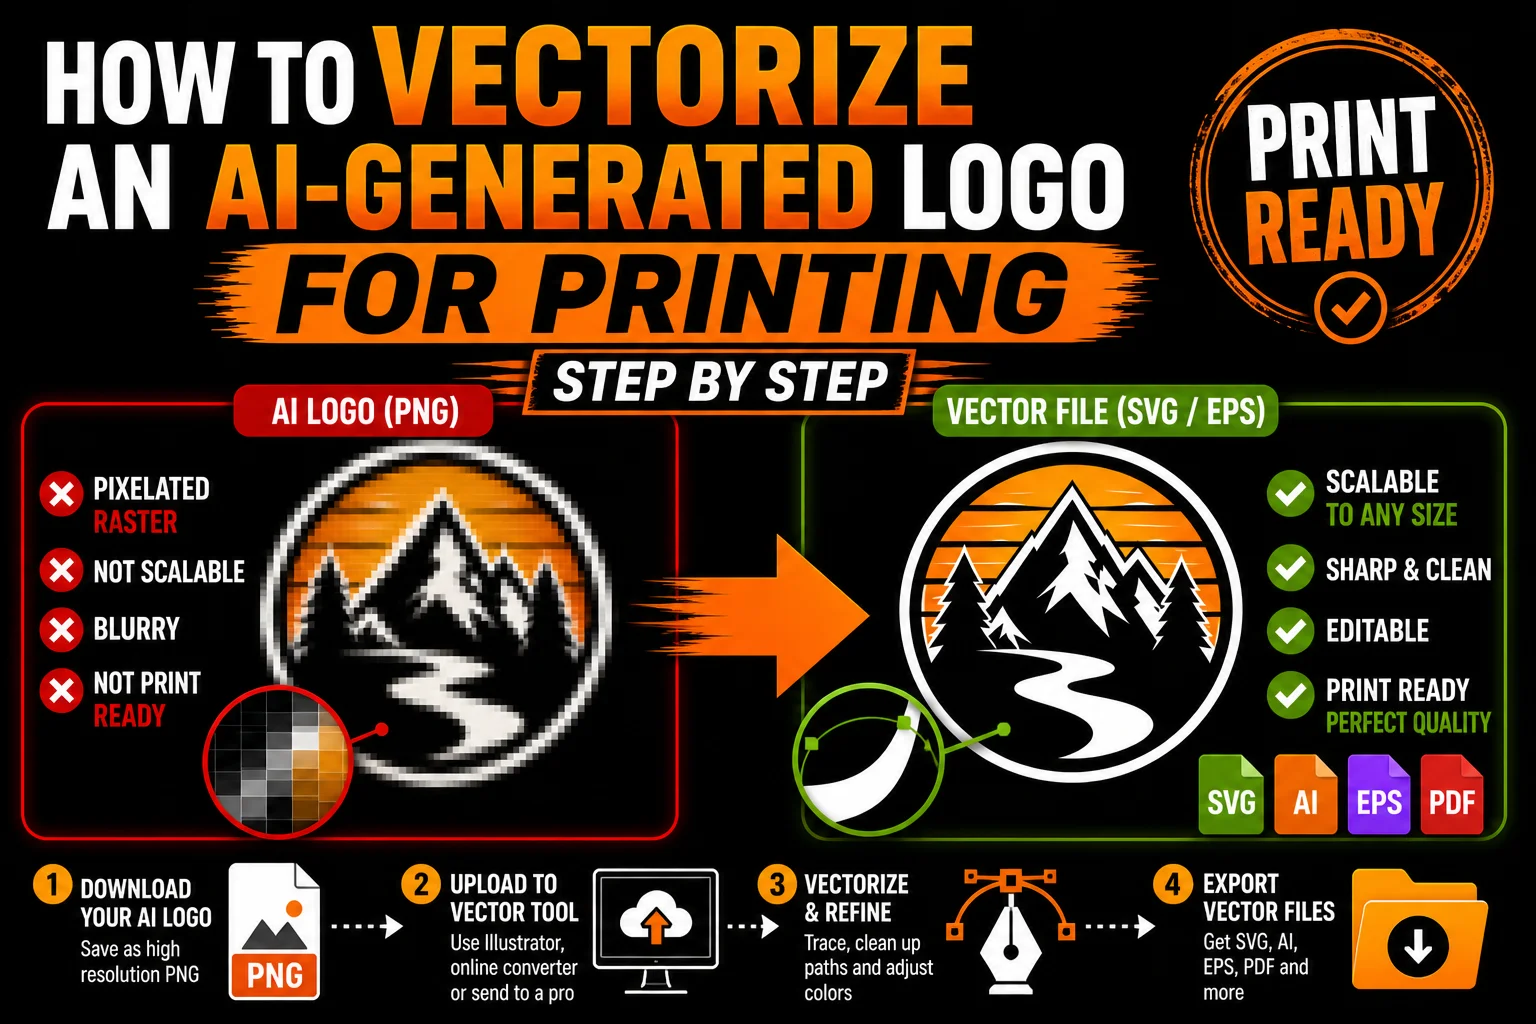
Vectorization (also called tracing) is the process of converting a raster image (your AI PNG) into a vector file (SVG, AI, EPS, or vector PDF). Instead of describing the image as a grid of pixels, the vector file describes it as mathematical paths, lines, curves, and shapes that scale infinitely.
There are two main approaches:
Auto-tracing. Software detects edges and color regions and converts them into paths. It can work well for simple designs, but soft edges or detailed generated images may need manual cleanup.
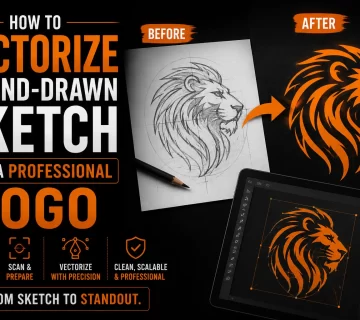
Hand-drawn vectorization. A designer redraws the image as paths, using the approved design to resolve ambiguous details and prepare production variants. Its usefulness depends on the source and the quality of review.
For detailed logos, manual reconstruction can correct lettering and proportions that a trace simply repeats. For a clear, simple mark, tracing followed by careful review may be sufficient. Compare the results with the actual application.
The Step-by-Step Workflow
Here’s the full process from AI prompt to print-ready vector file.
Step 1: Generate Your Logo in the AI Tool
Whatever AI you’re using (ChatGPT, Midjourney, DALL·E, Firefly), prompt it for your logo. A few tips that make later vectorization much easier:
- Use the words “logo,” “minimal,” “flat design,” “vector style,” or “clean line art.” These produce simpler output that vectorizes better.
- Specify limited colors. “Maximum 3 solid colors, no gradients, no drop shadows.”
- Skip photorealism. Realistic shading, lighting, and texture make for stunning art but bad logos.
- Check text separately. You can generate the symbol first and add accurately spelled type in a vector editor. Any generated lettering should be compared with the approved business name.
- Iterate to clarity. Better to have one clean, distinctive design than five busy ones.
Step 2: Download at Maximum Resolution
Use the clearest original download available and inspect its dimensions. Avoid repeated lossy exports that introduce artifacts. A larger file is not automatically better if it merely enlarges the same blurred source or changes its details.
Step 3: Optional Cleanup Before Vectorizing
If your AI image has obvious issues (background noise, stray pixels, unwanted elements, text errors), clean these up in Photoshop or any image editor first. A cleaner input gives a cleaner vector output.
If your image has a busy background you want gone, isolate the logo against a clean white or transparent background. This makes vectorization dramatically smoother.
Step 4: Vectorize the Image
Three options, with different levels of automation and manual review:
Online auto-tracers. Upload the image, adjust the settings and inspect the exported paths. Simple logos may trace well, while anti-aliased edges, gradients and small details can need significant correction before the result is useful.
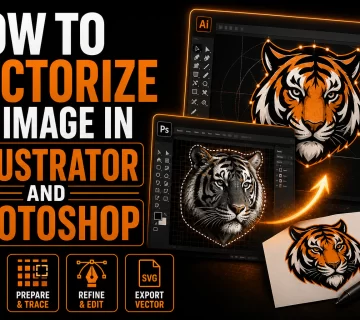
Adobe Illustrator’s Image Trace. Place the source, choose a preset, adjust the controls and expand the trace into editable paths. Compare the preview with the original, then correct the letters, curves and colors. The adjustable workflow is useful when you have the skills to refine the result.
Professional vectorization service. Provide the source and supplier requirements, agree on the reconstruction and deliverables, then review the prepared artwork. Confirm the file formats, variants and schedule before proceeding.
Step 5: Verify and Refine
Open the resulting vector file. Check:
- Are paths clean (not jagged, fragmented, or full of unnecessary nodes)?
- Do the colors look right? Are they solid or muddied?
- Is the lettering accurate, and is an editable type version or outlined production version needed?
- Does it look right at small sizes (business card) and large sizes (banner)?
- Are there any artifacts that need cleanup?
Review the output regardless of how it was made. Automatic traces can need cleanup, and hand reconstruction also needs comparison with the approved design and intended use.
Step 6: Export in Multiple Formats
Different production scenarios need different formats. Aim to have all of these ready:
- SVG for web, app icons, and modern workflows
- AI (Adobe Illustrator native) for designers
- EPS for legacy print workflows and older equipment
- Vector PDF exported according to the recipient’s specifications
- PNG at appropriate dimensions for raster workflows and previews
- Single-color version (often black) for embroidery, vinyl, one-color print
- White/reversed version for dark backgrounds
A planned file set reduces unnecessary back-and-forth. Confirm the required formats with your actual recipients, and check for embedded raster images in files described as vector.
Step 7: Send to Production
Send the requested file to the production partner with the intended dimensions and color requirements. Ask them to review the artwork and provide an appropriate proof. For embroidery, arrange digitizing and a stitch sample; a vector source alone is not a machine-ready embroidery file.
Why Auto-Tracing Often Fails on AI Images
If a trace of your generated logo looks disappointing, inspect the source before repeating the same settings. These characteristics can explain the result:
Anti-aliased edges. Soft transitions between color regions can create extra shapes or flattened contours during tracing. Compare settings that simplify the edge while preserving the intended silhouette; not every generated image has the same level of softness.
Subtle gradients. AI loves to add atmospheric lighting, soft shadows, and color blends. Auto-tracers struggle to know where one color ends and another begins. Output is often muddy or banded.
Fine details break. Thin lines may disappear or fragment into chains of disconnected slivers. A clean illustration becomes a fragmented mess.
Text becomes paths. Tracing follows the letter shapes in the image rather than recovering their font or spelling. The paths can be edited, but inaccurate lettering is often better rebuilt using properly set type.
Color sampling is approximate. A trace samples the source pixels, including intermediate shades. If the brand uses specified colors, replace those sampled values with the approved definitions and confirm the production version with your supplier.
For complex AI logos, the time spent cleaning up auto-trace output often equals or exceeds the time it would have taken to just have it hand-vectorized properly.
When Auto-Trace Is Good Enough
To be fair, auto-trace works fine for some cases:
- Logos that are already simple, high-contrast, and clearly defined (solid black silhouette on white background, single-color iconography)
- Designs you’ll iterate further yourself in Illustrator
- Quick placeholder vectors for testing layouts
- Cases where you only need a single format and quality isn’t critical
If your logo fits this profile, inspect an automatic trace as a starting point. Check whether its geometry and lettering meet the brief. If they do not, identify the specific corrections needed before choosing manual refinement or professional reconstruction.
How Professional Vectorization Differs
Let’s be specific about what professional, hand-drawn vectorization gives you that auto-trace doesn’t:
Clean, minimal paths. A designer constructs each shape with the minimum number of nodes needed. Auto-trace tends to generate hundreds of unnecessary nodes that make the file bloated and hard to edit.
Intentional curves. Bezier control points are placed to make curves elegant and smooth. Auto-trace approximates curves with whatever the algorithm guesses.
Proper layering. Ask for logical layers and groups so elements can be edited or separated. A raw trace may need reorganization; manual work should also be checked for useful structure.
Production-ready cleanup. No stray nodes, no duplicate paths, no broken fills, no overlapping shapes that would cause printing issues.
Multiple variants. A good vectorization service delivers single-color versions, reversed versions, simplified versions, and other variants you’ll need across different production scenarios.
Fidelity to design intent. A designer interpreting a fuzzy AI image can recreate the intent of the design (clean curves, proportional shapes, tight letterspacing) better than an algorithm that just traces what’s literally there.
For a logo used on products, packaging and signs, judge the delivered artwork rather than the label attached to the method. Accurate letters, clean curves, suitable variants and a supplier-approved proof make the result useful in production.
Common Print Scenarios and What You’ll Need
These are examples to discuss with your supplier, not universal file requirements. Confirm dimensions, color settings and the actual manufacturing process:
- Business cards & stationery: Vector PDF or AI; full-color
- Screen-printed t-shirts: AI or EPS; separate colors as solid spot colors
- Embroidery: source artwork in an accepted format, digitized into stitches and tested on comparable fabric
- Vinyl cutting (Cricut, Silhouette): SVG with clean closed paths; single-color
- Large format printing: an approved vector or raster layout with dimensions and resolution confirmed by the printer
- Packaging and labels: AI or vector PDF with proper layering and trim marks
- Vehicle wraps: Vector PDF or AI; high-fidelity, scalable
- Promotional products (mugs, pens, totes): AI or EPS; often single-color or limited-palette
- Web and digital: a checked SVG for suitable vector artwork, or an appropriately sized raster export
Bringing It All Together
AI tools can help explore logo concepts, but the downloaded result still needs inspection. A pixel image may suit some printing uses at the right size; cutting needs paths and embroidery needs stitches. Start with the actual production requirements, then decide whether tracing, reconstruction or a better raster source is appropriate.
Vectorization can turn a flat logo concept into editable geometry for several applications. It works best alongside accurate typography, approved colors and checks for the specific support. A file extension alone does not establish that every element will reproduce correctly.
If you need help preparing an AI-generated logo for production, send us the source and describe its intended uses. We can review the artwork, confirm what needs reconstruction and agree on the formats and variants to deliver. You can then approve the result with your printer or manufacturer before production.
Your AI logo is a great start. Let’s make it print-ready.
Technical sources: Adobe Illustrator : Image Trace; Wilcom : artwork and embroidery digitizing